
Laboratory Selection and Sampling Protocols for Onsite Wastewater Treatment Systems
Posted on by Brenda Faz Cresie
When it comes to onsite wastewater treatment systems we rely on solid data for design and maintenance of the system. It’s important to understand the proper procedures sample collection when doing analytical testing.
Laboratory Selection
 It’s important to select a laboratory that holds National Environmental Laboratory Accreditation Program (NELAP) and/or International Standards Organization (ISO) 17025 accreditations; these facilities will provide methods and reporting formats that are in line with permit reporting requirements. The NELAP or ISO stamp of accreditation will typically be displayed on the lab’s website; if you don’t see it, contact the lab directly to confirm.
Test Methodologies
Field Testing: While they are not typically recognized for permit reporting, it’s still important to conduct regular field testing. We suggest operators have a small onsite laboratory where they can measure parameters such as pH, dissolved oxygen, settleability and some even have kits that allow for onsite testing of nutrients and COD. The purpose of onsite test kits is operational awareness, so the operator can understand the general health and performance of the system on a day by day basis.
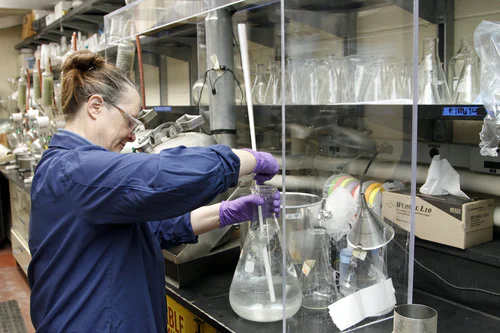
Lab Testing: Sample testing in a lab allows for the most accurate and reliable test results and will hold validity for site permitting and regulation compliance.
Sample Kits
 Once you have selected a laboratory and have defined your list of test methods, the next step is to request a Sample Bottle Kit or Sample Collection Kit from the laboratory. I recommend always requesting one from the laboratory within two weeks of the anticipated collection date. These kits are typically included in your cost of analysis.
The laboratory will request the following information in order to customize a bottle kit for you:
- What matrix you are collecting (water in this case)?
- What test methods you need analyzed (BOD, fecal coliform, TSS, etc.)?
- How many samples you anticipate collecting?
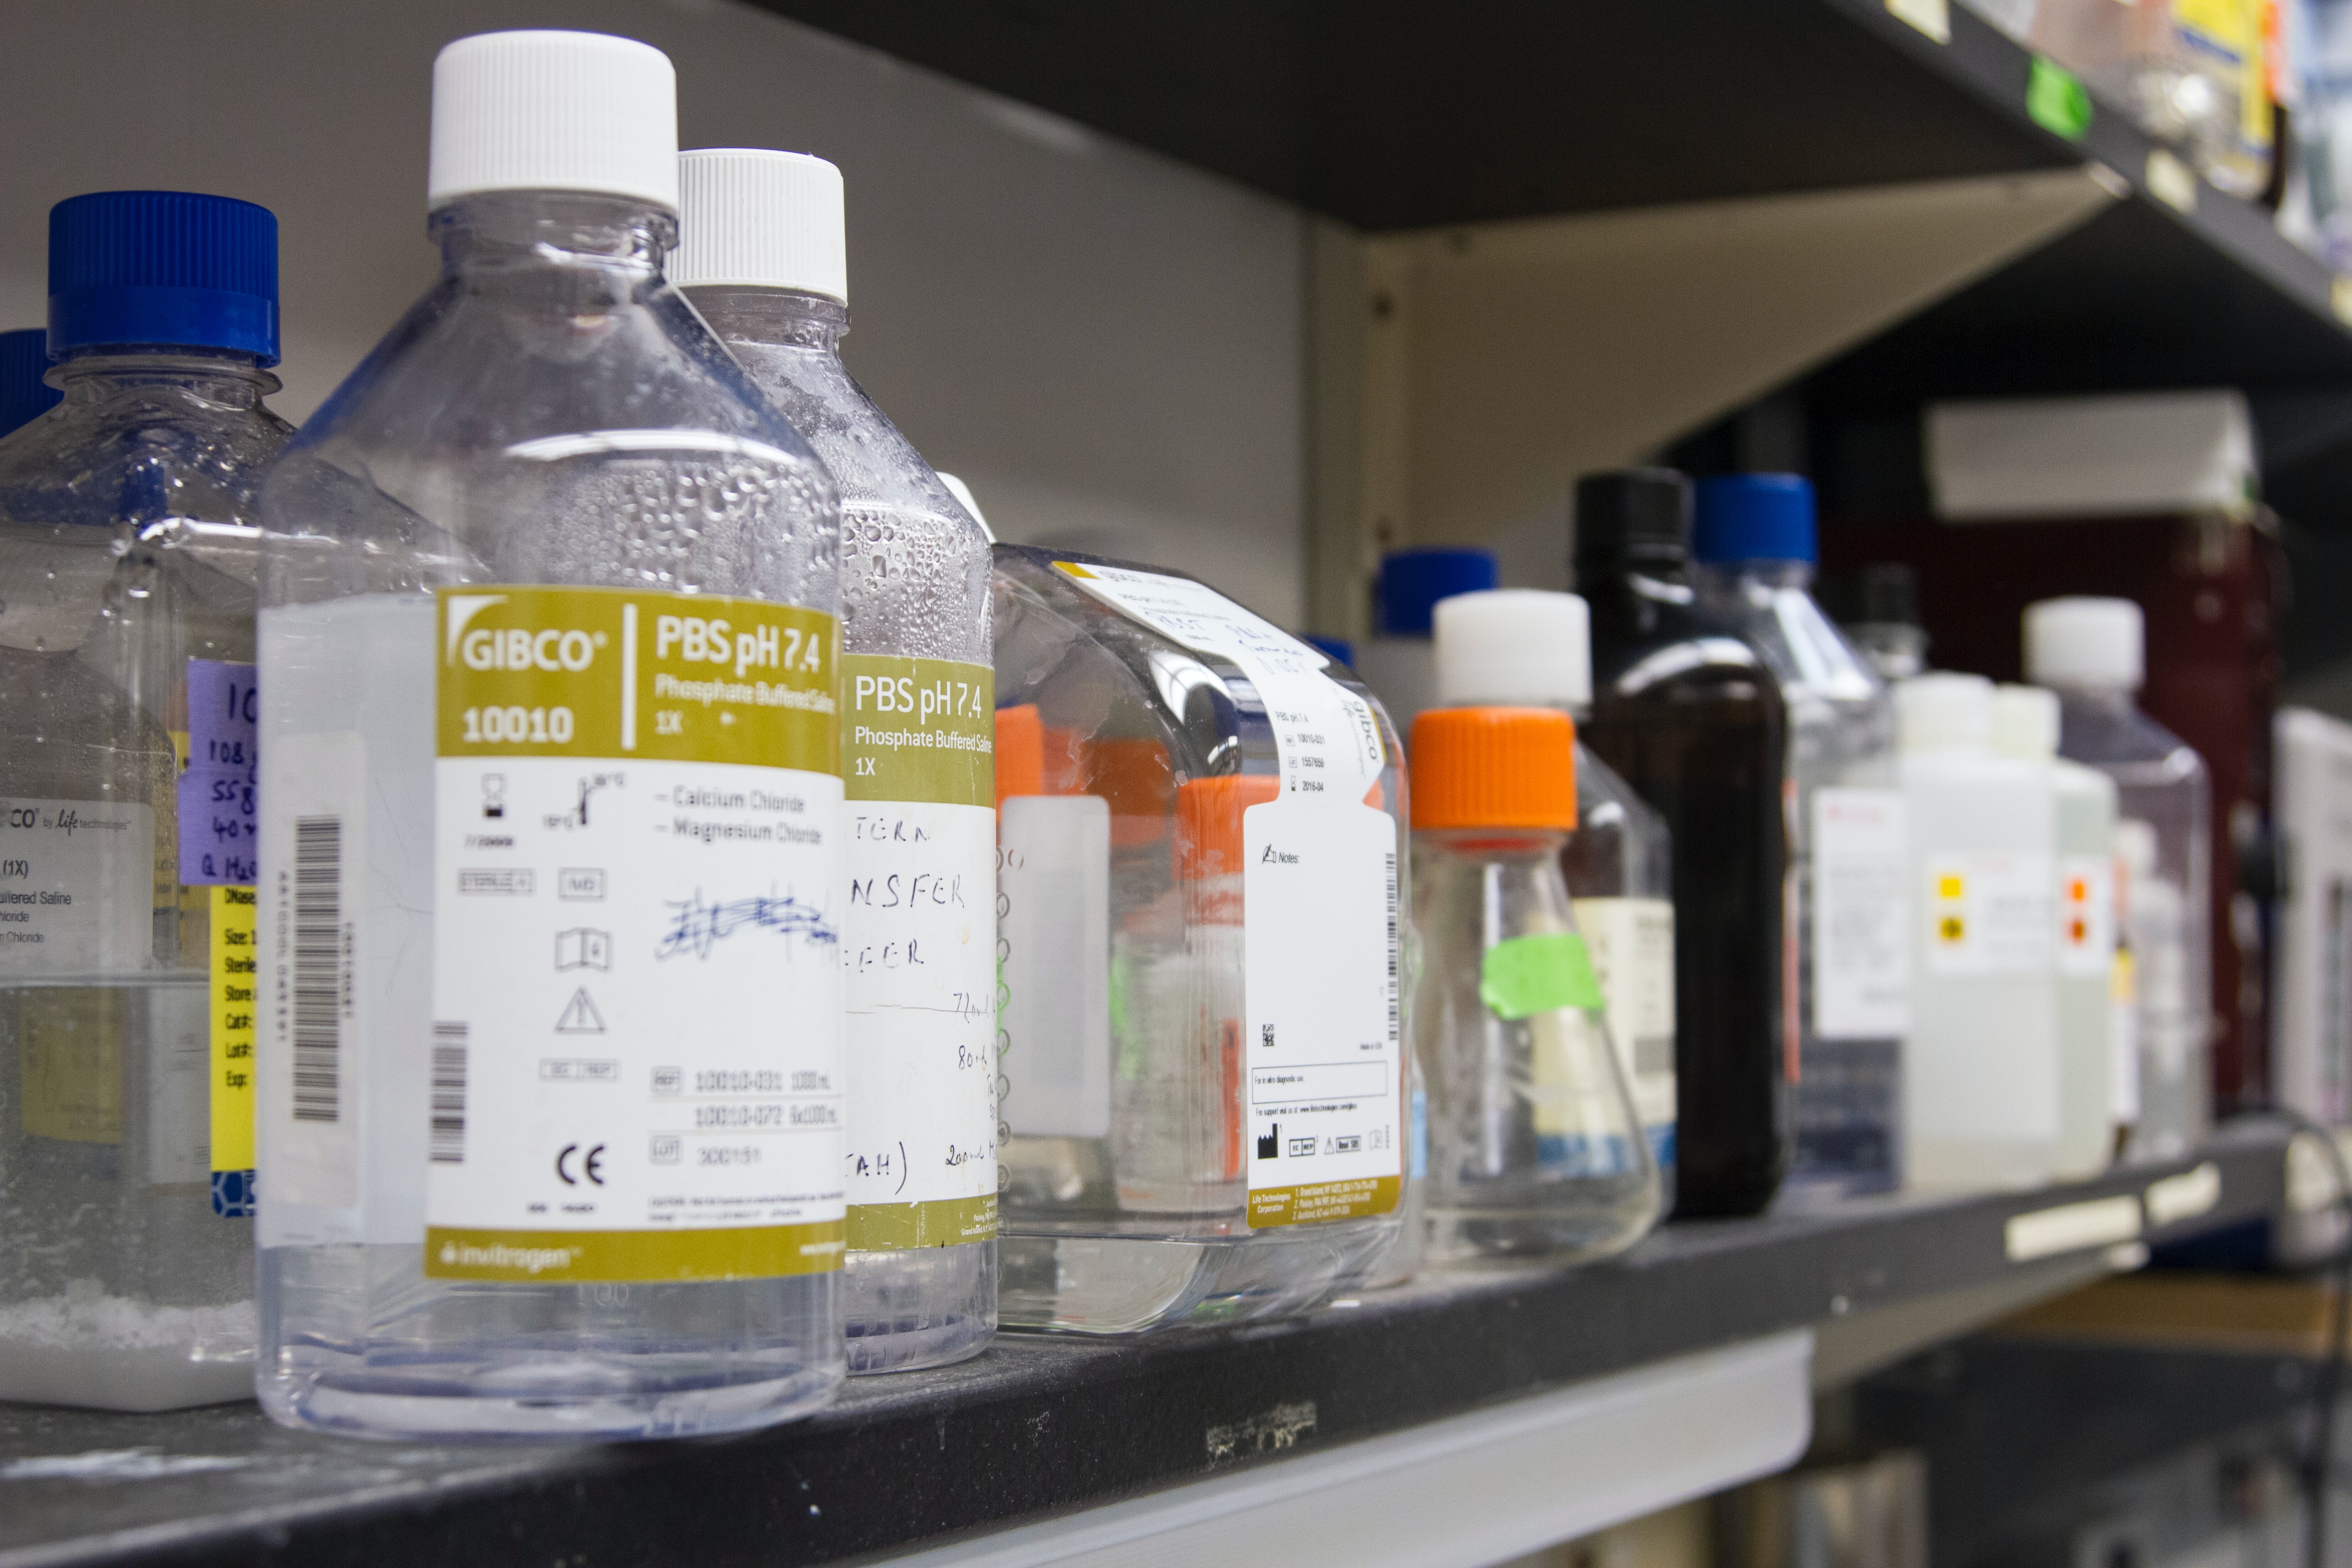
Sample kits typically consist of:
- Ice Chest(s)
- Various Containers (types, sizes and quantity will depend on the suite of analysis requested)
- Sample Bottle Labels
- Chain of Custody Paperwork
Again, it’s important that you obtain your kit as close to your anticipated collection date as possible. Quality results may not be obtained if expired chemicals are used in sample collection.
Once you receive your kit open it to ensure you have a bottle that is tied to each analysis requested. If you do not see a bottle tied to a requested analysis, you should clarify with the lab before you proceed. Do not assume multiple tests can be analyzed from the same bottle. Each bottle is provided based on specific method requirements for sizing, materials and chemical preservatives. Wear proper PPE when handling the kit, especially since some bottles may contain traces of chemicals. Don’t be alarmed if you see a small swirl of liquid inside your bottle. It is normal and purposely added by the laboratory staff to act as a chemical preservative. These preservatives are dictated by the test method and help ensure accurate results.
The final important piece of the sample bottle kit is the Chain of Custody (CoC) form. The CoC form must accompany samples when they return to the lab in order to ensure traceability. The CoC is a legally binding document and shows proof of ownership of those samples from the time of collection, to the time it is received by the lab.
Sample Collection
Once again, PPE! Be sure not to touch the inside of the containers and do not to leave them sitting out with the lids open and exposed to the environment. If you are unsure or the laboratory did not provide fill instructions, a general rule of thumb is to fill it to just above the shoulder of the bottle. Especially in the event of bottles with preservatives, you don’t want to overfill in the risk you might wash out these very important chemicals.
Once samples are filled, capped, and labeled (use waterproof ink) they may be placed into the ice chest, ensuring there is sufficient space left in the cooler for ice. It is important that samples arrive cold, most methods require somewhere between 2-6⁰C inside of the cooler upon receipt at the lab. If the temperature is above this, it is considered an exceedance and results could be rejected by the regulating body. Add your paperwork and properly seal off the cooler. You should then immediately have the samples delivered to the lab.
If you can accomplish all of this, you will ensure good quality data and avoid any potential headaches associated with invalid results or regulatory rejection.
About the Author:
 Brenda Faz
Engineered Systems Specialist
Brenda Faz is the Engineered Systems Specialist for the Southern Region of the United States at Infiltrator Water Technologies. Brenda assists developers and engineers in designing wastewater treatment systems that will optimize treatment performance for their projects. Prior to working for Infiltrator, Brenda spent 15 years in the environmental testing industry, doing bench scale treatability studies for municipal wastewater plants as well as standard analytical testing for soils and waters under both Standard Methods and ASTM methodologies. Brenda holds a Bachelor’s Degree in Environmental Science from Texas A&M University, a Master’s Degree in Environmental Management from the University of Maryland University College, and is currently a PhD student at Louisiana State University in the Environmental Science program.
Contact us if you have any questions about this blog post.